She and my son shared the same birthday.
And, she hardly ever asked for a thing in all her 14 1/2 years.
Our youngish family of four brought her home from the Humane Society section of the pet store when she was just 6 weeks old. She was so tiny and so solid black, that I didn’t at first see that there was a puppy in her crate. She was lying down so sweetly, way at the back of her crate, and the volunteer handler brought her out for me to hold. Her little puppy smell was intoxicating, and her black fur felt like cotton balls.
She allowed me to turn her over gently on her back (always a good sign, meaning that they likely will be submissive to their humans) and rub her tummy. That was probably one of the first of thousands of tummy rubs that she received.
No puppy could have marched out from the back of the Petco shop to the front and out to our car, (on a brand new hot-pink leash) more proudly than this little girl did. She started out a princess, but she soon became a queen.
She always preferred being outside when it was cool, even cold, being —we think— half Siberian Husky.
This photo (below) was taken with me holding the door for her, asking her if she wanted to come in. She did not. And, yes, those are ICICLES on her fur.
 The other half—again our guess—Belgian Sheepdog. She had the softest long brownish-black fur and gorgeous proud swooping black tail, which only recently began to be not quite as proud as in her beauty queen days. And soulful brown eyes which always seemed to say, thank you for taking me to be your pet. A splotch of Husky-dog gray fur had lined her back haunches since puppyhood, and in recent years the gray fur had begun to creep around her mouth area as well.
On an invisible fence, she had the run of a large yard, and she had many friends, both human and canine, who would step from the sidewalk over into the yard-proper so that she would not engage the invisible fence-line. She would casually bark a time or two at passersby, especially children or someone walking their own dog, wagging her tail, as if to say, come on over and say hello. Because I can’t get to you due to this darn shock-collar. Lucky for her, we live on the route from a nearby elementary school to the place all the children flock to for their afternoon snacks, a true old-timey soda fountain. Oh, she loved to be out when school let out, so she could get lots of “she’s so pretty” and “can we pet her?” There was never a happier place for a friendly dog to live.
Occasionally we would find treats in our mailbox with a note: These are for Pepper.
I will always treasure the memory of glancing out the kitchen window to see a very lovely acquaintance and her gorgeous Husky stop for a few minutes so that they could say hello. The lady gave Pepper such a fond pat and it just warmed my heart to see it. I ran into her at the grocery store some time later and she told me that she loved Pepper and that they always stopped for a visit if Pepper was out in the yard. I saw her many times from my window and I now want to tell her how much those visits meant.
Pepper ate so daintily that we let her “free feed” all along the day so she would get enough to eat. Once grown, she never varied more than a pound or two from her normal 38 pounds. Oh, but did she ever love lamb chops when we gave her a few bites of leftovers for a treat. And she adored salmon, probably hard-wired into the Arctic-breed portion of her DNA. And, a year or so ago, we discovered that not only is canned pure pumpkin great for a dog’s digestion, she absolutely loved a dollop of it over her daily kibble. And, woe if we ran out, because she would just look at me to say, where is my pumpkin?
We wanted a dog to sleep on the foot of the bed, but she never took to that tradition. She’d rather sleep on the living room sofa, so she could do her job: guard us at exactly the halfway point between the front door and our room. After an ACL tear on first her right back leg and then her left, and three grueling surgeries later, she began to settle for the floor, on the rug by the front window. Don’t think for a minute, though, that she let those surgical setbacks keep her from her daily walks. She seemed to bounce back just fine, even though the bounce in her step seemed a tiny bit crooked after the third surgery. A little side-winding just seemed to fit her breezy, regal style.
She preferred being within earshot, but not necessarily right next to us. She had an elegance, an independence, and a fierce loyalty to her people, especially our children. Here they are swinging in a vacation hammock at our family retreat, with Pepper at their side.
She was our Pepper. Pep-Pep or Pepperpot were our family’s two favorite nicknames for her. We loved her dearly, and she loved us. I can’t remember a time that she ever gave us a moment of trouble.
I would give just about anything to see that beautiful black head come out of the boxwood hedge where she liked rest (or hide) and to watch the world go by. We sometimes called her Hedge-Hat because the boxwood branches would rustle and pop up like a little green hat on her head as she came out to greet the car when we returned home.
Sadly, she had an apparent stroke on Saturday night, and could not support her weight to stand up. On Sunday morning, very early, she passed away. My friends now tell me how incredibly lucky we are that she died purely of age, and that she was rarely if ever sick, and that we never had to go through the agonizing decision to put her down.
I found a soft cotton pink and white striped beach towel that seemed the right thing to take with us for her final car ride on Monday morning. I made a necklace for her out of a pliable full-blooming spirea stem, and I tied some pink nonstop roses and the last of the camellia onto it with pink raffia ribbon.
My husband fitted my little homemade necklace gently around her neck, and tenderly carried her to the dog bed we had placed in the back of our car. She looked so incredibly peaceful and beautiful for her final journey to the veterinarian.
The staff came out to meet us, and I carefully placed the pink and white striped towel on the stretcher, which happened to fit perfectly. The vet tech respectfully lifted her onto the stretcher, and a second tech helped carry her on the stretcher inside the rear entrance. The rest of the staff stood solemnly in honor as they carried my fur baby away and inside into the holding area. Today a compassionate pet cremation service is picking up her little body, and will return her ashes to us along with a paw-print and a lock of her hair.
Rest in Peace, our beautiful Pep-Pep.


 P
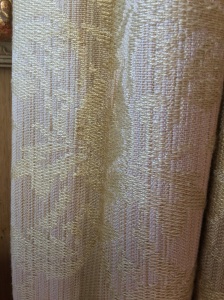
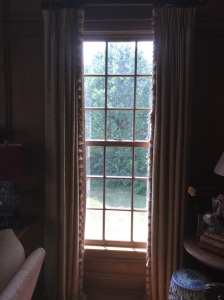
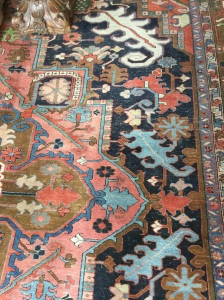
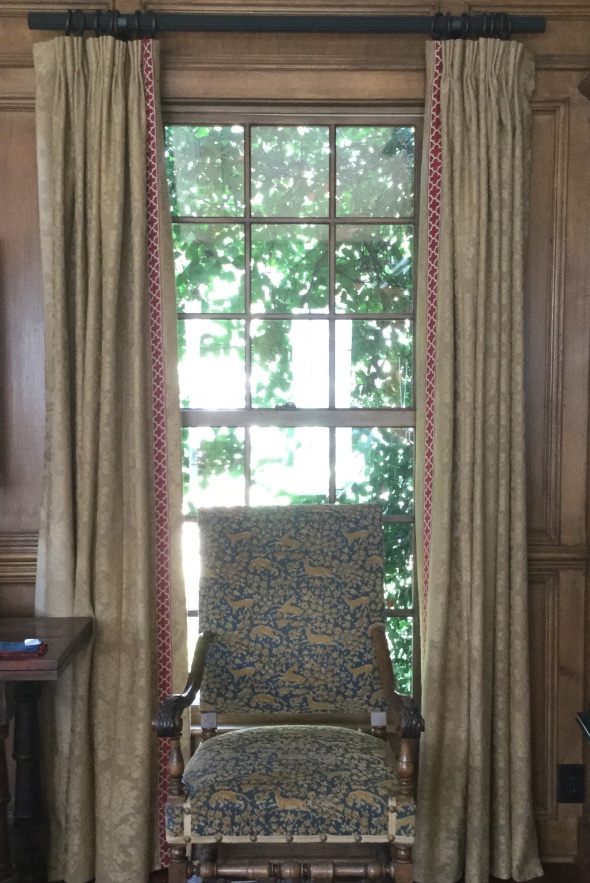
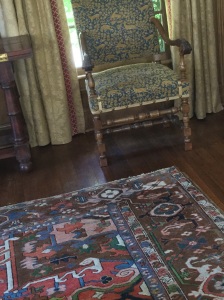
P The fresh-looking quatrefoil motif echoes the ancient patterns of the carpet. For your comparison, notice how the draperies look, first hung on the old too-short rod and then on the new longer rod. First here are the re-worked panels on the old, shorter rod. See how only one full vertical row of glass pane is visible? This is still exposing the fabric to damaging light rays for sure. Remember, this is the old rod:
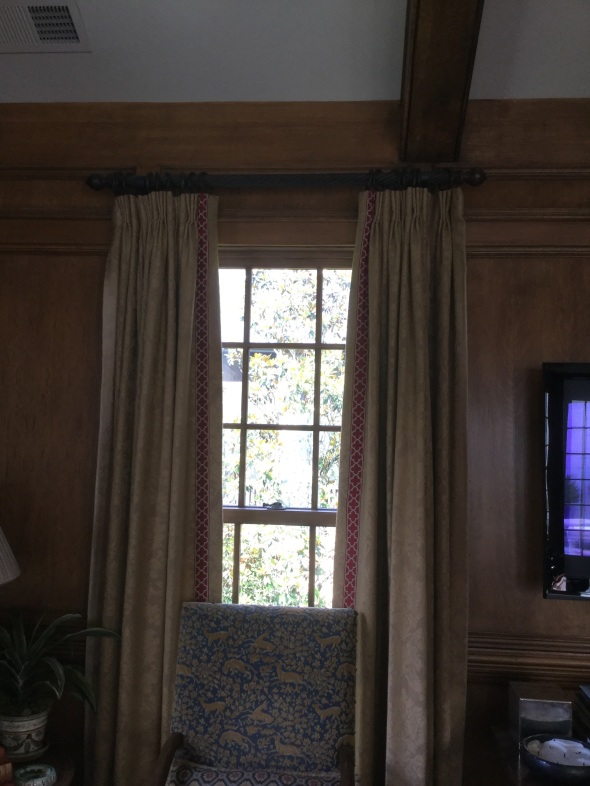


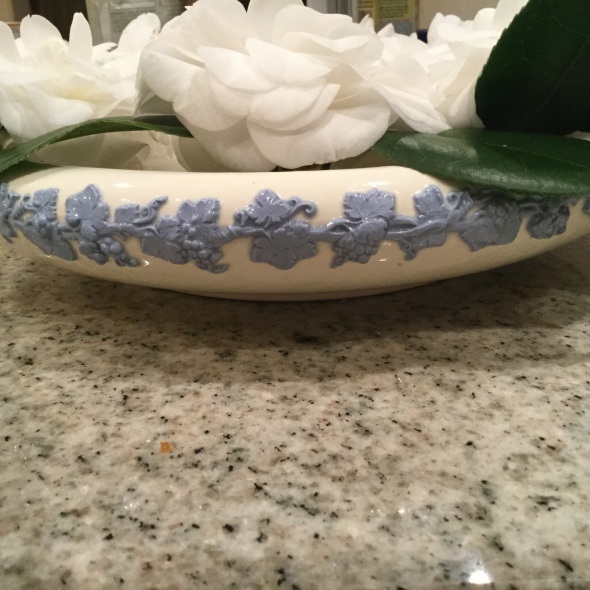
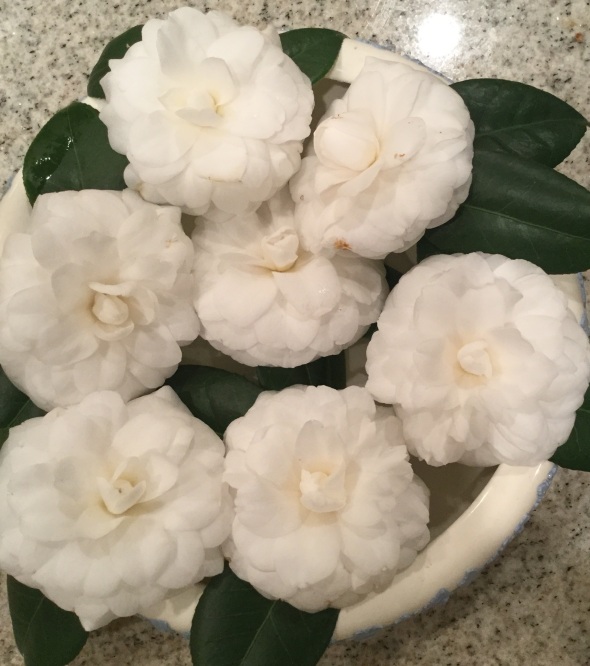 Here are my first “White by the Gate” of the season, stems trimmed short and then floated in a vintage Wedgwood jasperware gardenia bowl (very shallow), which I found on eBay for